HTML Sample Collection
- How to scroll through multiple images with an image slider
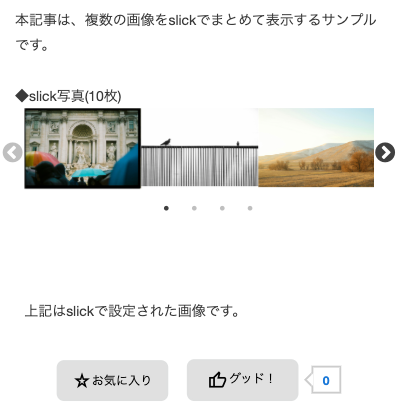
If you want to include multiple photos in an article, you can use an image slider (jQuery) to display them clearly.
*The sample source uses jQuery, an open source Javascript library.
*Custom implementation with jQuery may cause display issues on each screen. Also, because jQuery is regularly updated on the system side, we cannot guarantee that this sample source will work.
■Upload an image to your article
Add images to the article. Here we will add 10 images.

■Select the source and set up the image slider (jQuery)
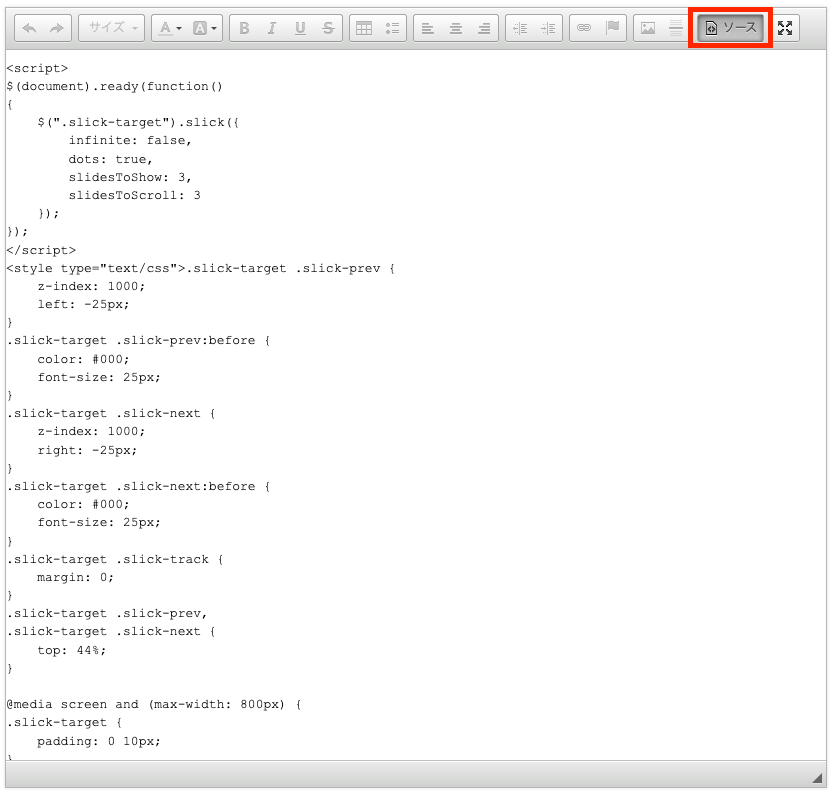
Select Source in the editor to display the HTML source code of the article.
Add the following code to the top.
<script>
    $(document).ready(function () {
        $(".slick-target").slick({
            infinite: false,
            dots: true,
            slidesToShow: 3,
            slidesToScroll: 3
        });
    });
</script>
<style type="text/css">
    .slick-target .slick-prev {
        z-index: 1000;
        left: -25px;
    }

    .slick-target .slick-prev:before {
        color: #000;
        font-size: 25px;
    }

    .slick-target .slick-next {
        z-index: 1000;
        right: -25px;
    }

    .slick-target .slick-next:before {
        color: #000;
        font-size: 25px;
    }

    .slick-target .slick-track {
        margin: 0;
    }

    .slick-target .slick-prev,
    .slick-target .slick-next {
        top: 44%;
    }

    @media screen and (max-width: 800px) {
        .slick-target {
            padding: 0 10px;
        }

        .slick-target .slick-prev {
            left: -15px;
        }

        .slick-target .slick-next {
            right: -10px;
        }

        .slick-target .slick-prev,
        .slick-target .slick-next {
            top: 40%;
        }
    }
</style>
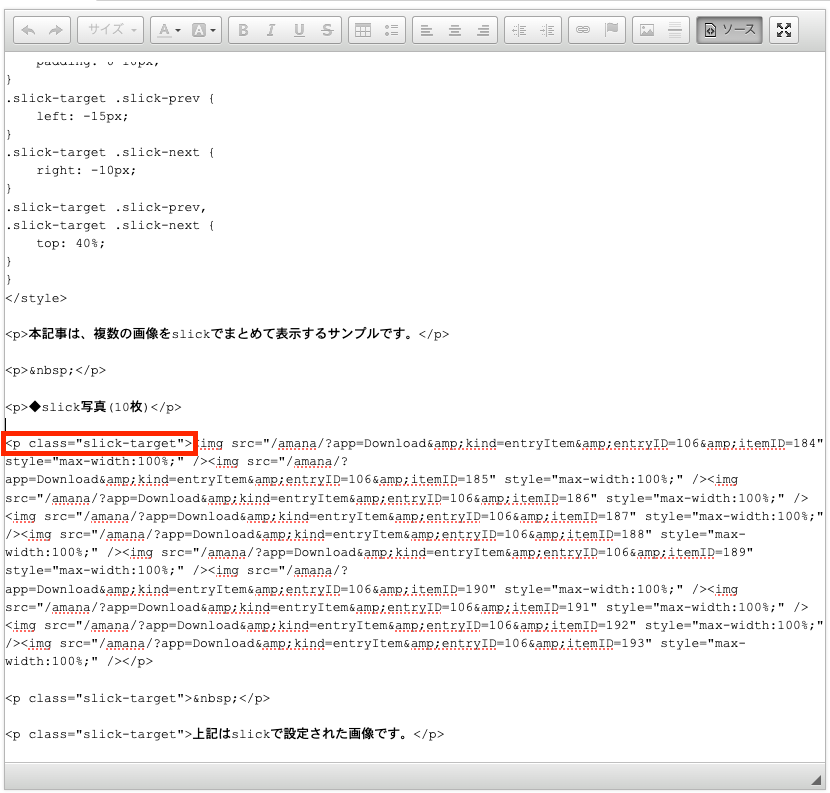
■Add a class where you want to use the image slider (jQuery)
Add “class=”slick-target”” to the p tag containing the uploaded images.
This completes the steps for using the image slider (jQuery).

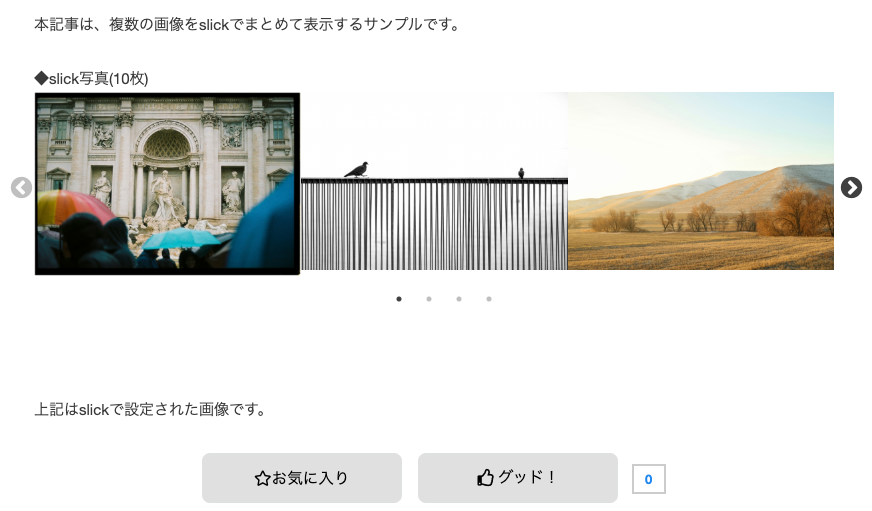
■Image slider (jQuery) display image (PC)

■Image slider (jQuery) display image (smartphone)

- How to embed a YouTube video in your entry
We will show you how to embed a YouTube video in your entry.
■Get the embed tag from the YouTube video page you want to embed
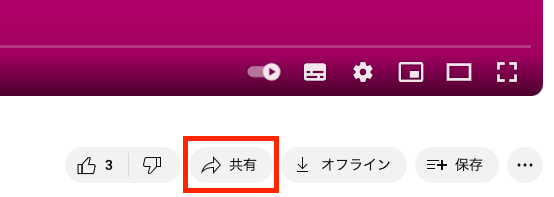
Open the YouTube video page you want to embed and click the share button.

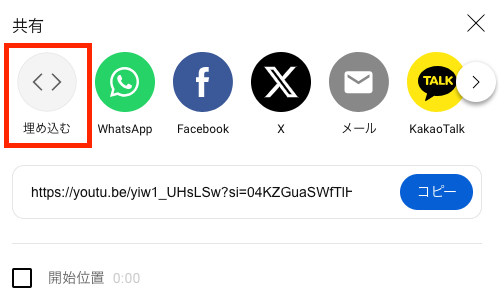
Click the Embed button in the window that appears.

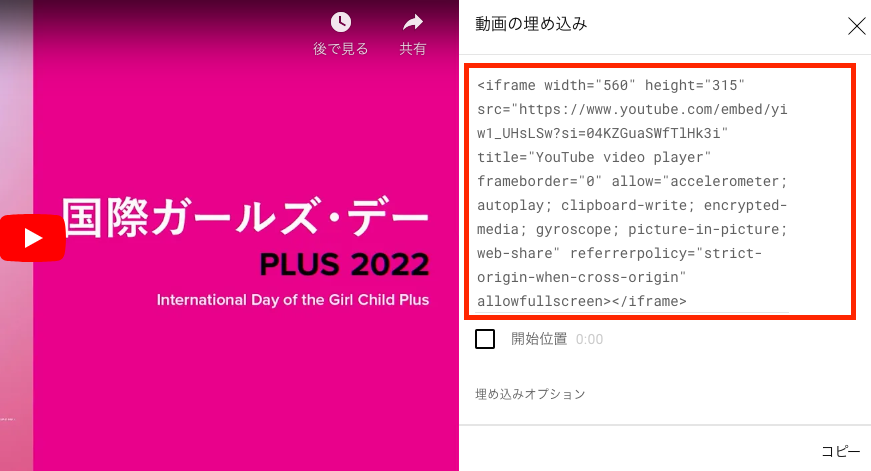
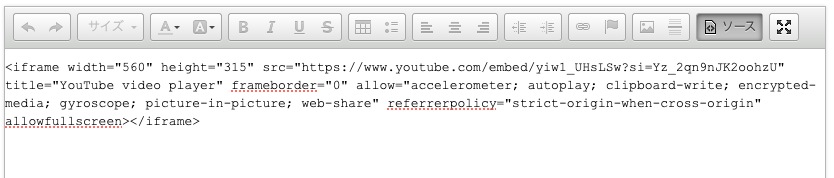
The embed tag for the video will be displayed, so copy it.

■Edit your entry from the XBOARD administration screen
Access the XBOARD administration screen and display the entry editing screen from Entry Management.
Click the “Source” button in the top right of the editor and paste the tag you just copied.

Once you proceed to the entry confirmation screen, you will be able to view the embedded YouTube video.

- Table of table of contents that can specify the video playback start time
We will show you how to create a table of contents that allows you to specify the start time of a video.
■Upload a video on the entry editing screen of the management screen
Access the administration screen and display the entry editing screen from Entry Management.
Drag and drop the video file to add it into the entry.

Click the Source button in the top right of the editor.
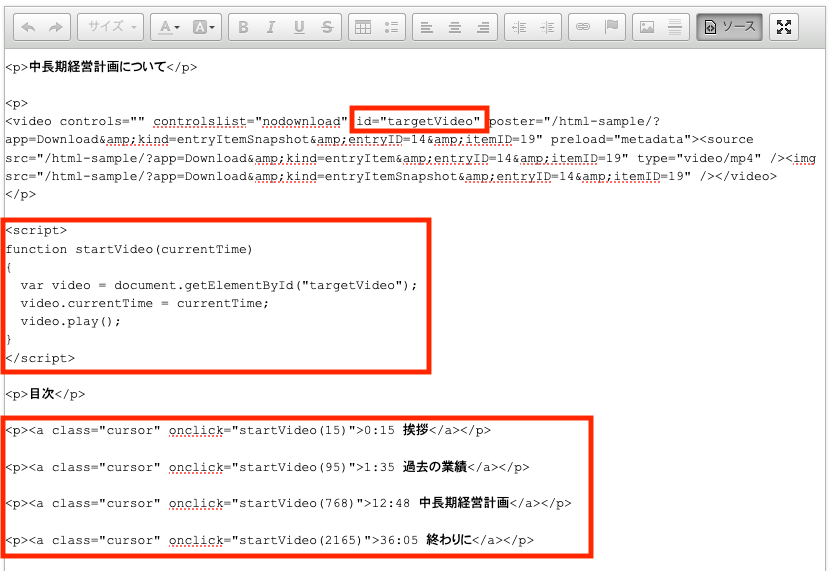
Add the area in the red frame in the image.

The completed sample source will look like the one below, so please use it for reference.
*Please use the video tag part that you uploaded yourself.
<p>中長期経営計画について</p> <p>
<video controls=”” controlslist=”nodownload” id=”targetVideo” poster=”/html-sample/?app=Download&kind=entryItemSnapshot&entryID=14&itemID=19″ preload=”metadata”><source src=”/html-sample/?app=Download&kind=entryItem&entryID=14&itemID=19″ type=”video/mp4″ /><img src=”/html-sample/?app=Download&kind=entryItemSnapshot&entryID=14&itemID=19″ /></video>
</p><script>
function startVideo(currentTime)
{
var video = document.getElementById(“targetVideo”);
video.currentTime = currentTime;
video.play();
}
</script><p>目次</p>
<p><a class=”cursor” onclick=”startVideo(15)”>0:15 挨拶</a></p>
<p><a class=”cursor” onclick=”startVideo(95)”>1:35 過去の業績</a></p>
<p><a class=”cursor” onclick=”startVideo(768)”>12:48 中長期経営計画</a></p>
<p><a class=”cursor” onclick=”startVideo(2165)”>36:05 終わりに</a></p>
The 2165 part in “onclick=”startVideo(2165)”” specifies the number of seconds from which the video will start playing.
- How to upload an image to an article and refer to it
Here is how to upload an image to an article and refer to it.
■Upload images on the entry edit screen of the administration page.
Access the administration screen and go to Manage Entries to display the Edit Entry screen.
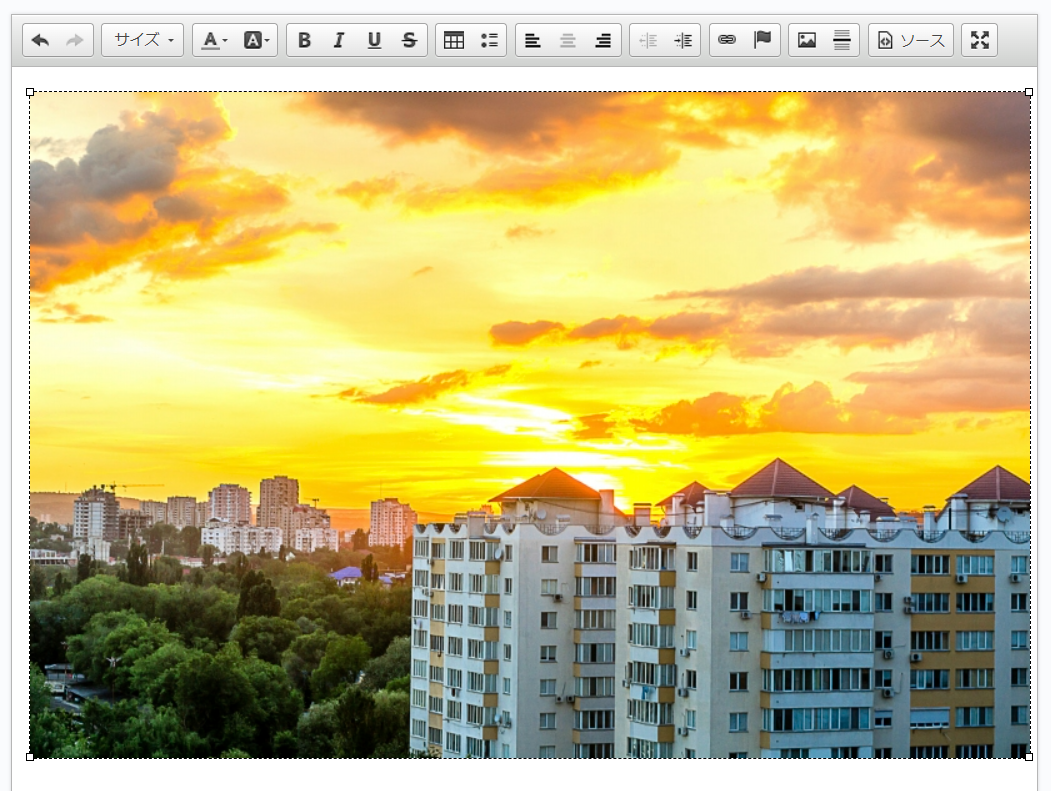
Drag and drop an image to insert.

There are two methods for image referencing.
(1) How to insert using the paste operation on the keyboard (only within the same article)
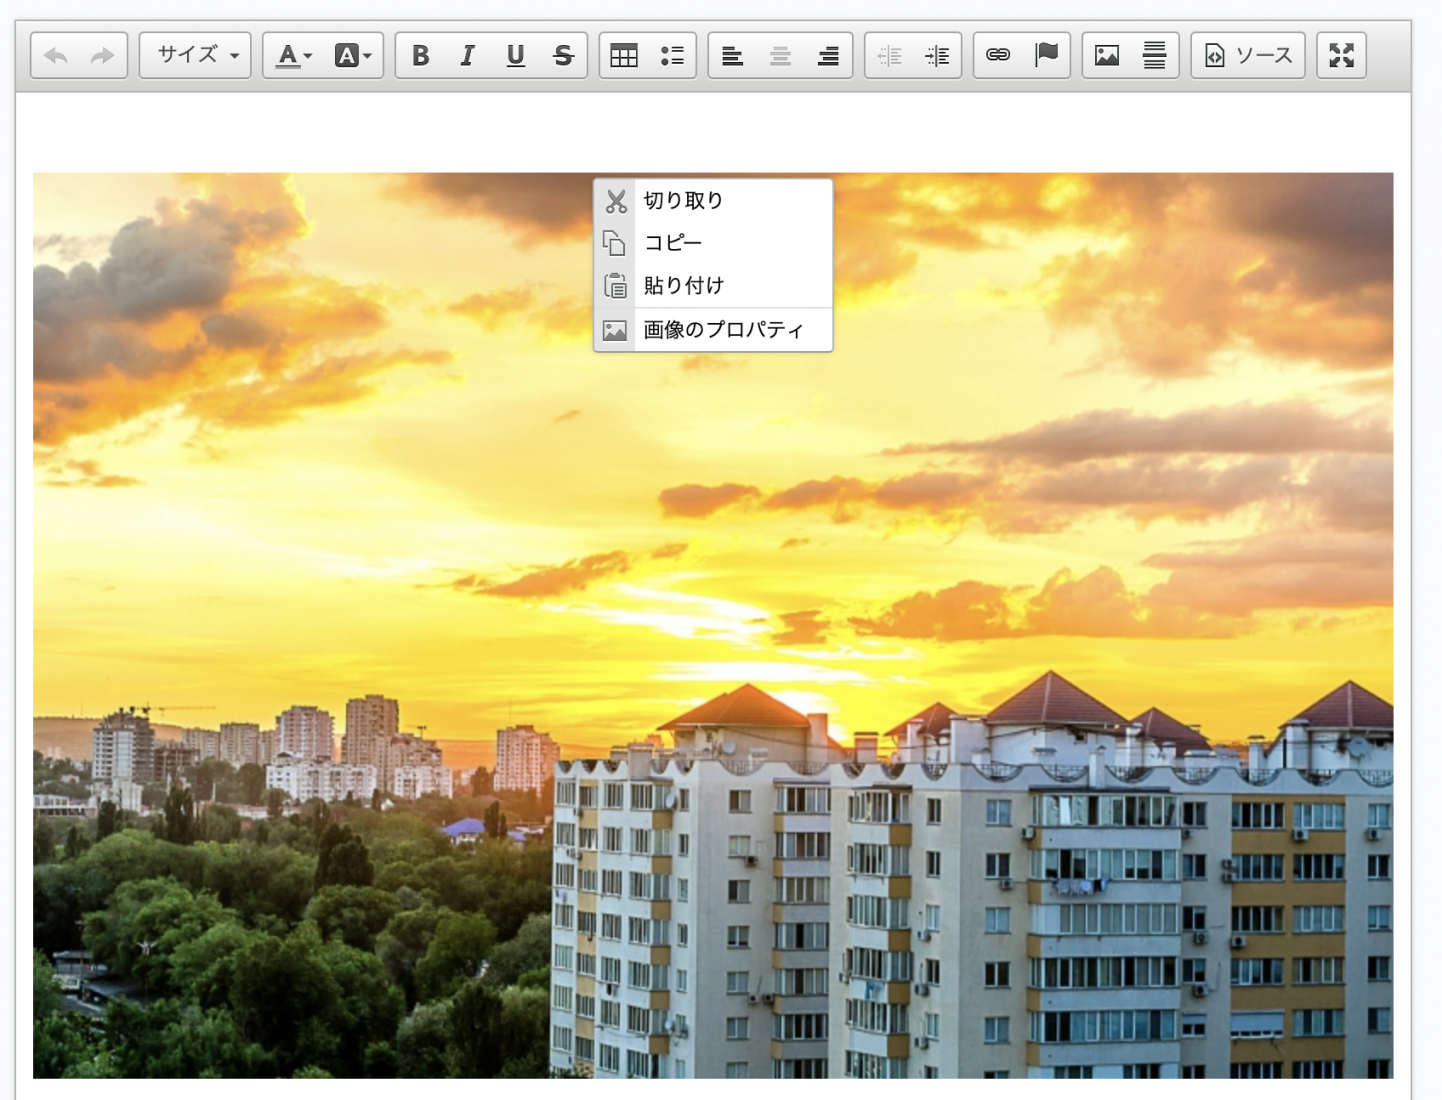
Select the inserted image, right-click, and choose Copy from the menu.

You can paste the text by using the keyboard paste operation (Ctrl/Cmd+V) at the point in the article where you want to insert the text.
(2) How to reference from image properties (knowledge of HTML is required)
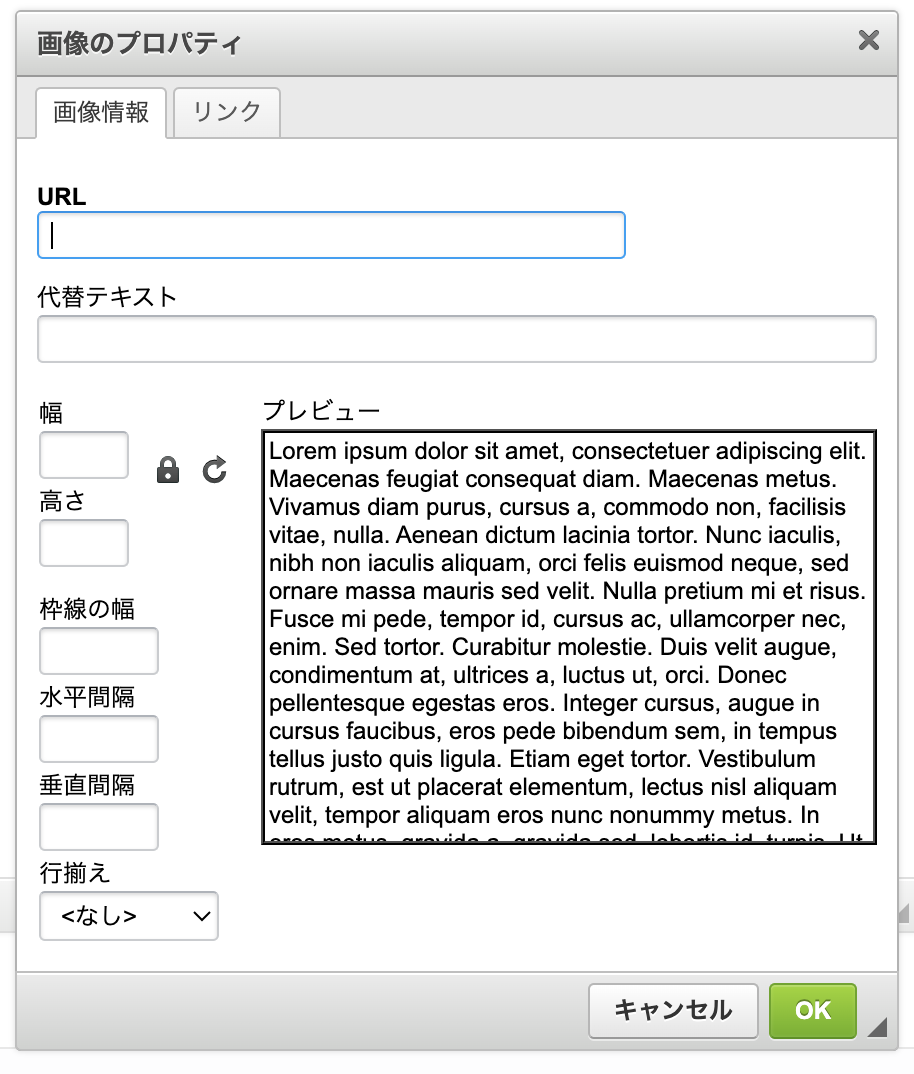
Select the image, right-click, and choose Image Properties.
Copy the URL from the Image Properties dialog.

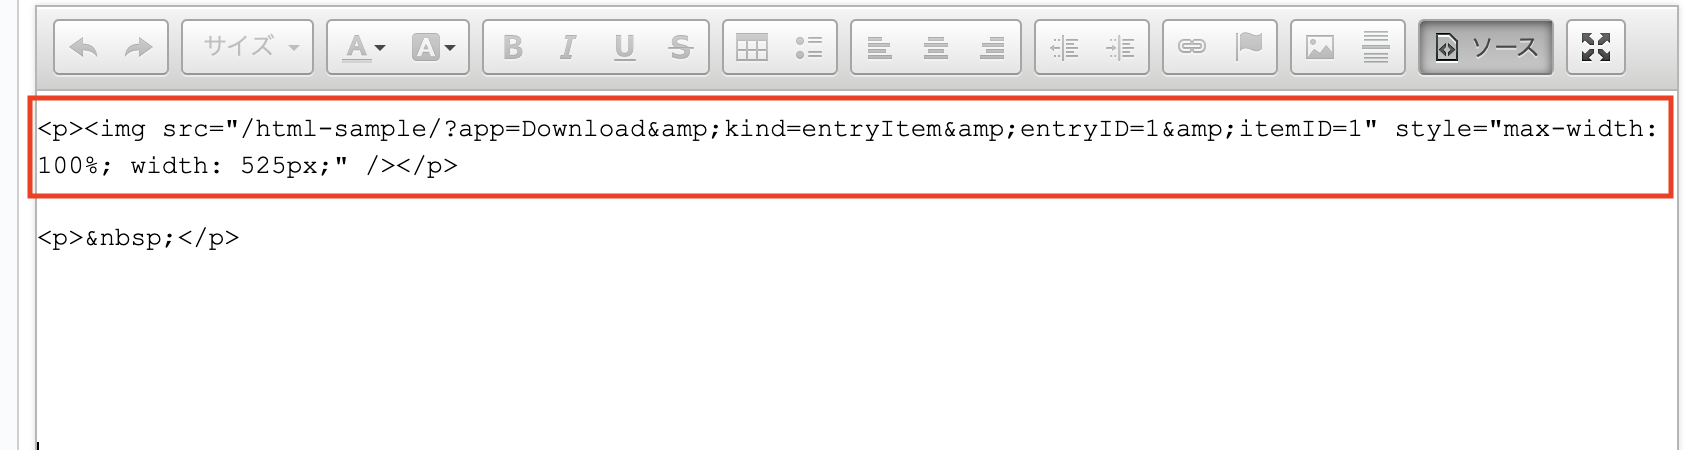
Click on the “Source” button in the editor’s menu.
In the HTML source, create an <img> tag and paste the URL of the image into the src attribute.

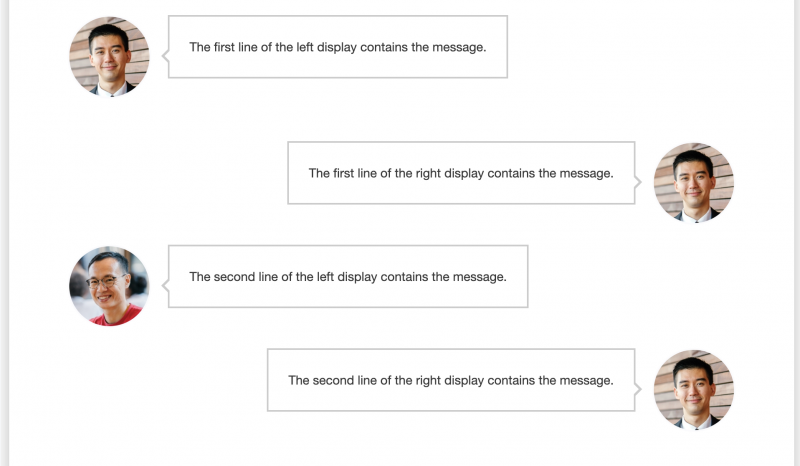
- How to create an article that looks like a conversation between two people with a speech bubbles.
Here is how to create an image of two people talking to each other in an article.
Completed form (PC view)

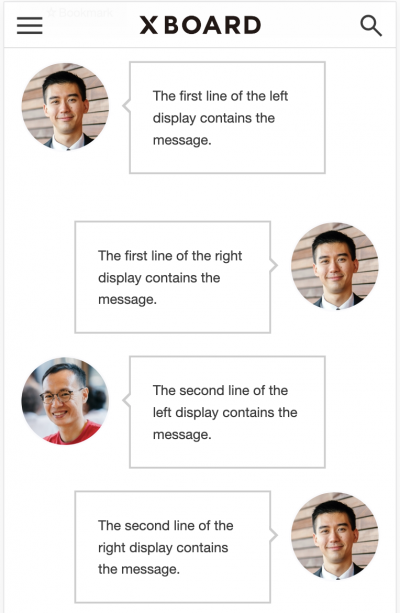
Completed form (Smartphone view)

■Creating an image of two people talking to each other on the entry edit screen of the administration page.
Access the administration screen and go to Manage Entries to display the Edit Entry screen.
Drag and drop a photo image of their faces and insert it into the article.
Click on the “Source” button from the editor menu.

The URL of the above image will be set in the place where the callout of the portrait photo is displayed.
Set the URL of the above image in the speech bubble display area of the face photo.
Sample Source
Speech bubble on the left <div class="talk_image"><img src="/html-sample/?app=Download&kind=entryItem&entryID=7&itemID=5" /></div><div class="talk_left">The first line of the left display contains the message.</div><div style="clear: both;"> </div>Speech bubble on the left
<div class="talk_image_right"><img src="/html-sample/?app=Download&kind=entryItem&entryID=7&itemID=5" /></div><div class="talk_right">The first line of the right display contains the message.</div><div style="clear: both;"> </div><div class="talk_image"><img src="/html-sample/?app=Download&kind=entryItem&entryID=7&itemID=6" /></div><div class="talk_left">The second line of the left display contains the message.</div><div style="clear: both;"> </div><div class="talk_image_right"><img src="/html-sample/?app=Download&kind=entryItem&entryID=7&itemID=5" /></div><div class="talk_right">The second line of the right display contains the message.</div><div style="clear: both;"> </div><style type="text/css">.talk_image {
float: left;
width: 100px;
height: 100px;
}
.talk_image_right {

float: right;

width: 100px;

height: 100px;

}

.talk_image img,

.talk_image_right img {

width: 100%;

height: 100%;

border-radius: 50%;

}
.talk_left {

position: relative;

float: left;

margin-left: 20px;

padding: 24px;

border: solid 2px #ccc;

max-width: calc(100% - 180px);

}

.talk_left::before {

position: absolute;

content: '';

border: 10px solid transparent;

border-right: 10px solid #ccc;

top: 37px;

left: -20px;

}

.talk_left::after {

position: absolute;

content: '';

border: 10px solid transparent;

border-right: 10px solid #fff;

top: 37px;

left: -16px;

}

.talk_right {

position: relative;

float: right;

margin-right: 20px;

padding: 24px;

border: solid 2px #ccc;

max-width: calc(100% - 180px);

}

.talk_right::before {

position: absolute;

content: '';

border: 10px solid transparent;

border-left: 10px solid #ccc;

top: 37px;

right: -20px;

}

.talk_right::after {

position: absolute;

content: '';

border: 10px solid transparent;

border-left: 10px solid #fff;

top: 37px;

right: -16px;

}
</style> - How to Expand Table of Contents
Learn how to create a table of contents and expand it with a click.
■Create an article to expand the table of contents on the entry edit screen of the administration page.
Access the administration screen and go to Manage Entries to display the Edit Entry screen.
Click on the “Source” button from the editor menu to set up the sample source.Completed image

Sample Source
Use the details element.
The table of contents section is set within the summary tag, with detailed text below the summary tag.
<details style="border: 1px solid #ffb6c1; padding: 20px;"><summary><strong>Headline 1</strong> </summary><p> </p><p> Here is a text.Here is a text.Here is a text.Here is a text.Here is a text.Here is a text.Here is a text.Here is a text.Here is a text.Here is a text.Here is a text.Here is a text.</p></details><p> </p><details open="" style="border: 1px solid #ffb6c1; padding: 20px;"><summary><strong>Headline 2</strong> </summary><p> </p><p> Here is a text.Here is a text.Here is a text.Here is a text.Here is a text.Here is a text.Here is a text.Here is a text.Here is a text.Here is a text.Here is a text.Here is a text.</p></details>※If you want to display detailed text when initially displayed, set the open attribute to the details tag.
<details open></details>